ARB Twin Compressor Install Jeep JK Wrangler – Under Passenger Seat
For those inquiring about an ARB twin compressor install on a Jeep JK, Geo Forward recommends mounting the unit under the passenger seat. This option provides jeep owners with ample spacing, easy installation, and reduces exposure to the elements. For additional remarks, or to add helpful information, please comment below.
1). Purchase a Jeep Wrangler JK Passenger Seat Mounting Bracket.
For those interested, this post provides insight on an ARB twin compressor installation, under the passenger seat of a Jeep Wrangler JK. To start, purchase a passenger-seat mounting bracket for the Jeep Wrangler JK. Our team chose the Terraflex Mounting Kit, and it works great. Alternatively, you can make one. Just be sure it can withstand the vibrations and weight of the ARB Twin Compressor.

2). Find the Firewall Passage Gromet & Run the ARB Wiring Kit Through It.
Before taking anything apart, it’s best to find the best spot to run the ARB Twin Compressor Wiring Kit through your firewall. There are a few options. But it’s simplest to use the firewall grommet already in place (below the glovebox on the passenger side).
NOTE: There’s already a wire loom that runs through this grommet. So be careful not to damage it when pushing the ARB Twin Compressor Wiring Kit through it.

Remove Front Passenger-Side Wheel & Liner
To get a proper passage through the grommet, you’ll need to identify the location of the grommet on the opposite side of the firewall as well. Thus, it is necessary to open the hood, remove the front passenger-side wheel, and also remove the front passenger-side wheel liner.

Remove Spring Clip Terminals & Feed Towards Firewall Grommet
You can run the wires through the gap that’s on the top-left corner of the battery bracket. Before doing so, you’ll need to remove each terminal from the plastic connector on the ARB Twin Compressor Wire Kit. These are spring-clip terminals, and a paper clip works great for a removal tool. Afterward, save the plastic connector in a safe location, and wrap the terminals in electrical tape for protection while passing it through the grommet.

Gently Run the New Wire Through the Grommet & Seal It
Making a passage through this grommet requires caution. There is an important wire loom already inside it, and damaging it will result in electrical malfunction. First, identify and thoroughly examine the grommet. Then make a safe and proper incision for wire passage on each side (distant and clear from the wire loom).

To get the ARB Compressor Wiring Kit through, you’ll have a few options. To start, you can shove a 1/4 inch diameter plastic tube through the incision points of the grommet, and then pull the ARB harness right through it using a hanger-wire and more electric tape. This method protects the wire loom inside from damage and also guides the hanger-wire right through. Afterward, re-seal both sides of the grommet with liquid tape to prevent moisture intrusion.

3). Remove the Passenger Seat.
Once the ARB Twin Compressor Wiring Kit is through the firewall, proceed with removing the front passenger-side seat and side paneling. There are four bolts at each corner of the front passenger seat. And there is one yellow electric connecter to unplug.

4). Run the Wire to the Jeep JK Wrangler Passenger Seat.
Remove the three plastic clips on the bottom side panel (interior), and snap the panel out of position to make way for the ARB Twin Compressor wire kit. It helps to tuck the wire around the existing loom.

Ultimately, the terminals of the ARB Compressor wiring kit should lead to the space below the passenger-side seat. You can also slide it under the carpet from the side panel.

8). Connect the ARB Twin Compressor to Jeep Wrangler JK Power and Ground.
Refer to the instruction manual to identify each wire function for your specific use of the ARB Twin Compressor system. Usually, people are unsure about the +12v wire (red/yellow wire) and the switch illumination wire (blue/white wire). There are a few options on where and how to connect these two wires. But the following video demonstrates the simplest way.
5). Mount the ARB Twin Compressor Under the JK Passenger Seat.
Follow the instructions on the Terraflex kit for the ARB Twin Compressor mounting bracket. Ideally, the air filters face the passenger-side door of the Jeep JK Wrangler. And the ARB Twin Compressor itself mounts upside-down under the passenger-side seat.

Building your own bracket is fun. But for economical reasons, the Terraflex mounting bracket is a strong recommendation. For a reasonable price of about $90, all the planning, fitting, fastening, and functionality is pre-set.

Nonetheless, for those who choose to make their own bracket, consider the following: 1). Use a bracket material of appropriate density and thickness to support the weight of the ARB Twin compressor during bumpy 4×4 rides. 2). Allow for proper clearance from the ground to the upside-down ARB Twin Compressor. 3). Use proper bolts with thread locker to prevent loosening during vibration. 4). Keep the air filters facing the passenger door.

6). Make a Bracket for the Air Chuck and Switch.
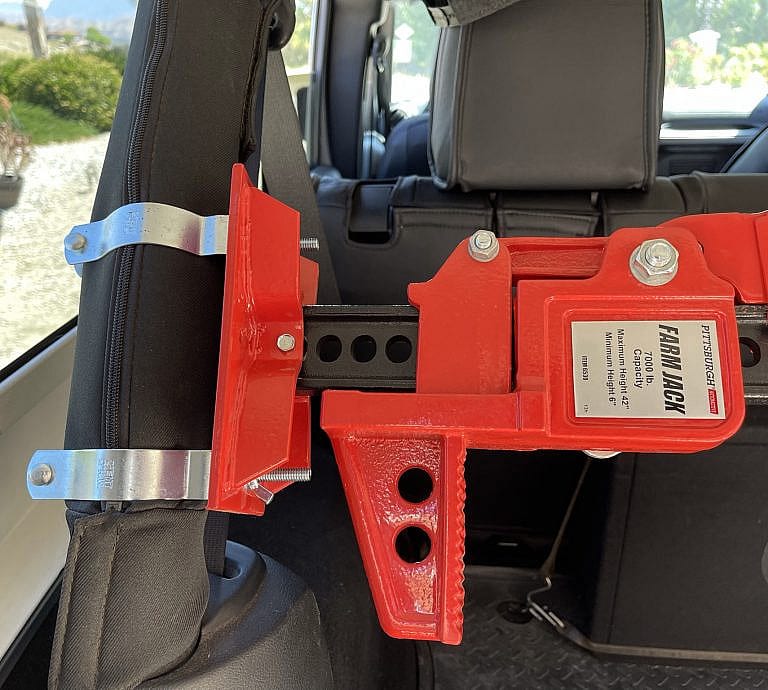
Next, you’ll want to make a faceplate and bracket to secure the air chuck. Plan to mount the air chuck at an easy hook-up location. For instance, along the side of the passenger front seat frame, facing the door.

If solely using the ARB Twin Compressor for tire inflation purposes, it’s probably best to place the switch near the compressor and air chuck. For example, you can attach the ARB compressor switch to the same faceplate as the air chuck (see photo below). Alternatively, the switch can be added to an sPOD assembly on the dash. And this set-up is nominal if using the ARB Twin Compressor for air locking differentials.

7). Connect all Wiring and Plumbing.
Next, you’ll want to connect all fittings and hoses to the compressor system and air-chuck. Don’t forget to use appropriate amounts of Teflon tape. For this build, an 18-inch long, Viair steel braided leader hose, without any check valves, works great.

Secure the custom faceplate to the side of the seat. An air chuck and switch plate fits nicely on the doorway-side of the front passenger seat. From the factory, the seat frame already has two holes. And it supports an 18-inch hose from the effluent end of the compressor.

And before wrapping things up and mounting the seat, conduct a leak test using soapy water on all your fittings.

9). Test Out Your ARB Twin Compressor
Use any proper size air hose and inflator gauge available. The ARB hose and digital pressure gauge seem to be high quality and conveniently packaged with some air compressor kits. However, there are plenty of other quality options to choose from.

10). Go Off-Roading!
Lastly, go off-roading at your favorite 4×4 park and deflate your tires with peace of mind!